
Setting the Alert Info Plug-in
You can use the Alert Info plug-in to display a message on your computer when a job is complete. As a special term for this software, completion of a job is called an "event".
Note
-
The Alert Info plug-in can be used with devices connected to the network.
-
You must match the time and time zone of the printer and those of the computer by using the SNTP function of the printer.
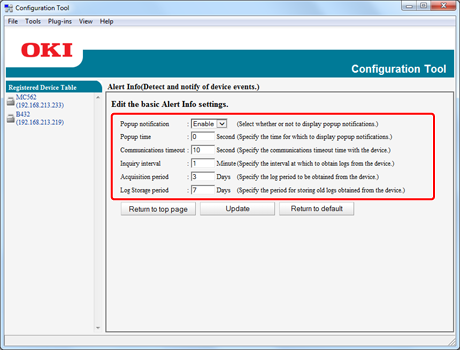
Basic Settings
You can set the basic settings of the Alert Info plug-in.
-
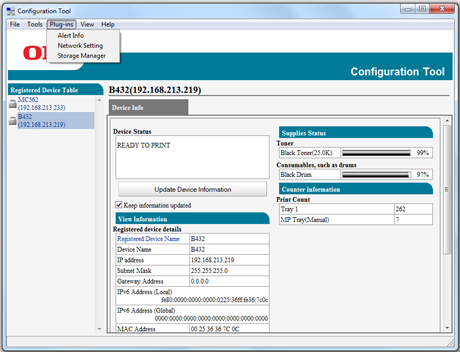
Click [Start], and then select [All Programs] > [Okidata] > [Configuration Tool] > [Configuration Tool].
-
Select [Alert Info] from the [Plug-in] menu.
-
Select [Setup].
-
Change the setting if necessary.
-
Click [Update].
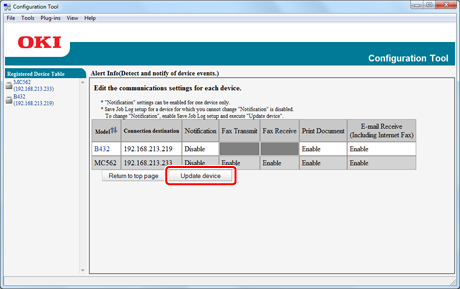
Device Settings
The Alert Info plug-in settings can be changed for each device.
-
Click [Start], and then select [All Programs] > [Okidata] > [Configuration Tool] > [Configuration Tool].
-
Select [Alert Info] from the [Plug-in] menu.
-
Select [Setting devices].
-
Click [Update devices].
-
Select the device to set up.
-
Change the settings if necessary, and then click [OK].
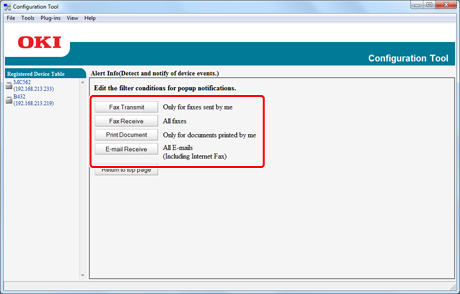
Filter Settings
You can set the display alert conditions for printing documents.
-
Click [Start], and then select [All Programs] > [Okidata] > [Configuration Tool] > [Configuration Tool].
-
Select [Alert Info] from the [Plug-in] menu.
-
Select [Filter settings].
-
Click the event button to set up.
-
Change the setting if necessary.
-
Click [OK].
Memo
You can register up to 300 senders as E-mail sender.
Checking Logs
Using the event log, you can check whether there are any records about registered printers.
-
Click [Start], and then select [All Programs] > [Okidata] > [Configuration Tool] > [Configuration Tool].
-
Select [Alert Info] from the [Plug-in] menu.
-
Select [Display log].
-
Change the setting if necessary.
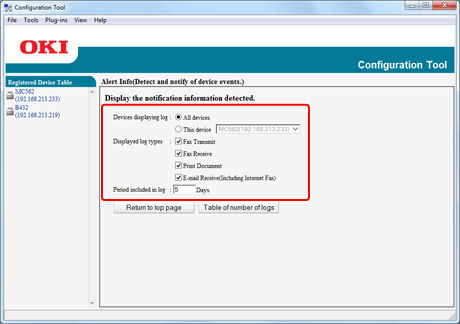
-
Click [Table of number of logs].
Memo
You can check the details of recorded logs in [Log details].