
Removing the Printer Driver from a Computer (Windows)
Note
-
You must log in as the administrator.
-
If Windows is started, restart your computer.
For Windows 8.1, Windows Server 2012 R2, Windows 8 and Windows Server 2012
-
Right-click [Start] at the bottom left of the screen, and then select [Control Panel].
-
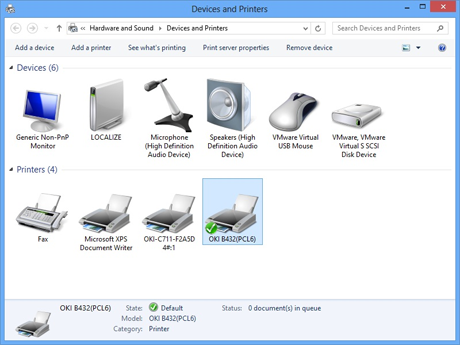
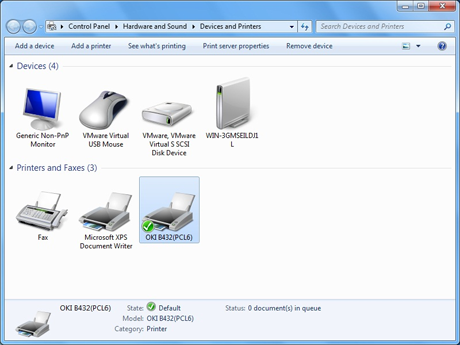
Click [Devices and Printers].
-
Select a printer icon.
-
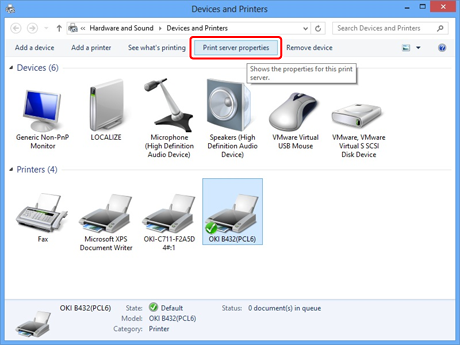
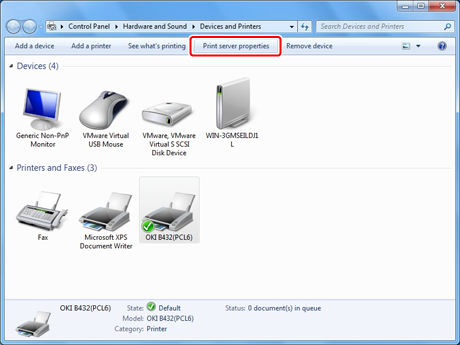
Click [Print server properties] on the menu.
-
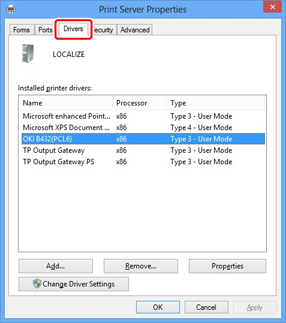
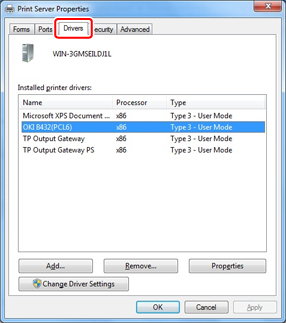
Select the [Drivers] tab on the [Print Server Properties] screen.
-
Click [Change Driver Settings].
-
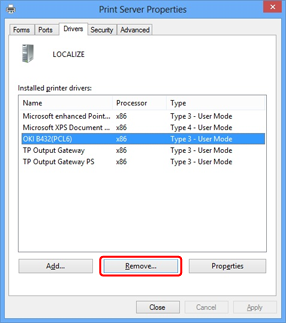
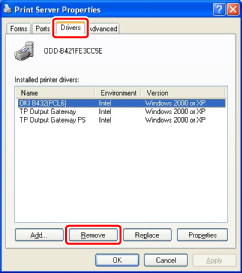
Select the name of the printer you want to remove, and then click [Remove].
-
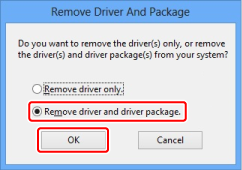
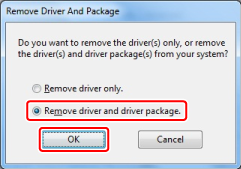
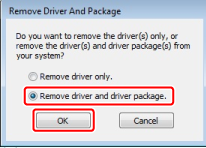
When the [Remove Driver And Package] dialog box is displayed, select [Remove driver and driver package.], and then click [OK].
-
When [Print server properties] is displayed, click [Yes].
Note
If the "The specified printer driver is currently in use" message is displayed, restart Windows, and then try to remove the printer driver again.
-
When the printer driver is successfully removed, click [OK].
-
When the screen returns to the [Print Server Properties] screen, click [OK].
-
Restart Windows.
For Windows 7 and Windows Server 2008 R2
-
Click [Start], and then select [Devices and Printers].
-
Select a printer icon in the [Devices and Printers] screen.
-
Click [Print Server Properties] on the menu.
-
Select the [Drivers] tab on the [Print Server Properties] screen.
-
Click [Change Driver Settings].
-
Select the name of the printer you want to remove, and then click [Remove].

-
When the [Remove Driver And Package] dialog box is displayed, select [Remove driver and driver package.], and then click [OK].
-
When the [Print server properties] dialog box is displayed, click [Yes].
Note
If the "The specified printer driver is currently in use" message is displayed, restart Windows, and then try to remove the printer driver again.
-
When the printer driver is successfully removed, click [OK].
-
When the screen returns to the [Print Server Properties] screen, click [Close].
-
Restart Windows.
For Windows Vista and Windows Server 2008
-
Click [Start], and then select [Control Panel] > [Printers].
-
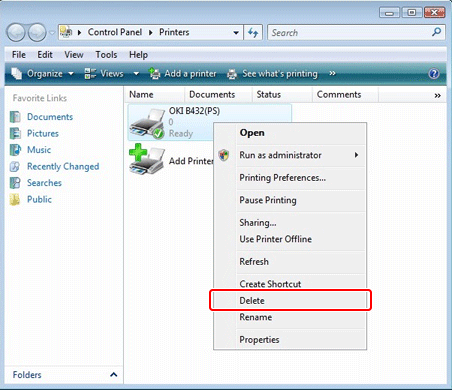
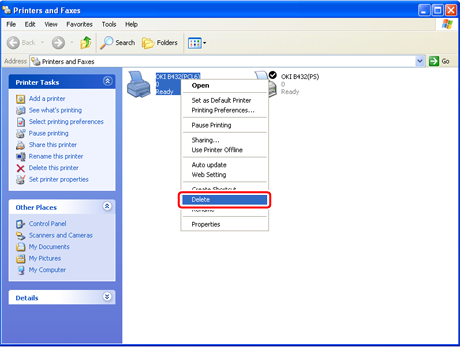
Right-click the icon of the printer you want to remove, and then select [Delete].
-
When a confirmation message is displayed, click [Yes].
-
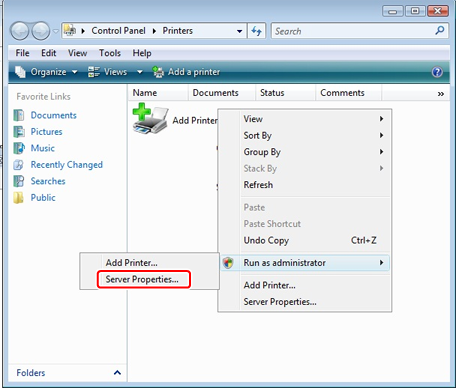
With a printer icon not selected, right-click inside the pane, and then select [Run as administrator] > [Server Properties].
-
When [User Account Control] is displayed, click [Continue].
-
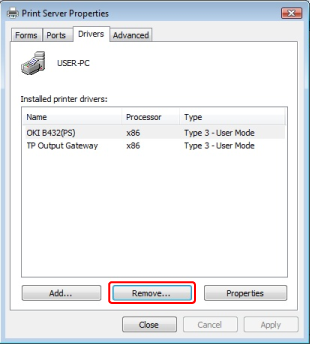
Select the [Drivers] tab in the [Print Server Properties] window.
-
Select the printer you want to remove, and then click [Remove].
Note
If the "The specified printer driver is currently in use" message is displayed, restart Windows, and then try to remove the printer driver again.
-
When [Remove Driver And Package] is displayed, select [Remove driver and driver package], and then click [OK].
-
When a confirmation message is displayed, click [Yes].
-
When [Remove Driver And Package] is displayed, click [Remove].
-
When the printer driver is successfully removed, click [OK].
-
Click [OK] in the [Print Server Properties].
-
Restart Windows.
For Windows Server 2003
-
Click [Start], and then click [Control Panel] > [Printers and Faxes].
-
Right-click the icon of the printer you want to remove, and then select [Delete].
Hereafter, follow the on-screen instructions.
-
In the [Printers and Faxes] folder, select [File] > [Server Properties].
-
Select the corresponding model name on the [Drivers] tab, and then click [Remove].
Note
Network Extension, which is installed along with a printer driver, is not removed with the printer driver.