
Setting the Network Setting Plug-in
The settings for the Network Setting plug-in are displayed when the Network Setting plug-in is installed. You can set the IP address of your printer, enable or disable device settings, and the display of the Web page.
You can set up a network with Configuration Tool. Before setting up a network, install the Network Setting plug-in.
About how to set a network
Improving Security by Encrypting Communication over a Network
About icons
Note
Only the administrator of the computer can use the Network Setting functions. If you are logged in to Windows with a user account that is not the administrator account, the Network Setting menu is not displayed.
Searching for the Printer on a Network
You can search for the printer.
-
Click [Start], and then select [All Programs] > [Okidata] > [Configuration Tool] > [Configuration Tool].
-
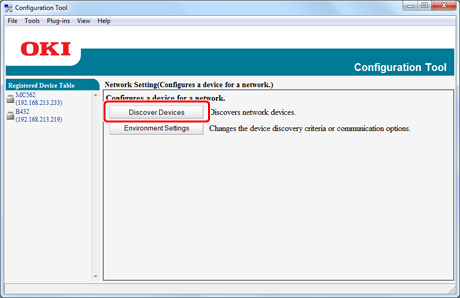
Select [Network Setting] from the [Plug-in] menu.
-
Select [Discover Devices].
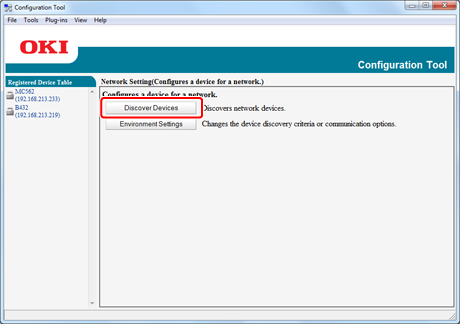
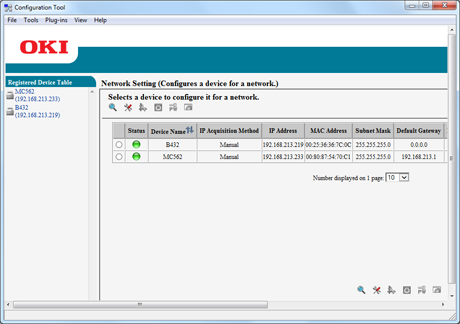
The search results are displayed.
-
Specify the search criteria as necessary, and then click [OK].
Memo
-
You can enter up to 16 IP addresses.
-
By selecting the "Search local subnet" check box, you can search for devices that exist on the same segment.
-
To search for a printer individually, you can add the IP address of the printer you want to find.
-
-
Select [Discover Devices].
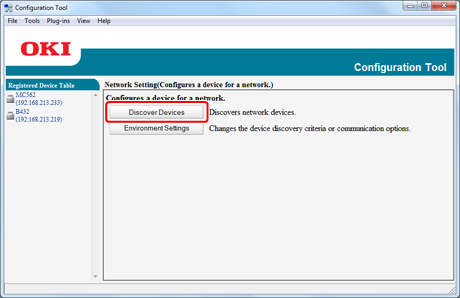
The search results are displayed.
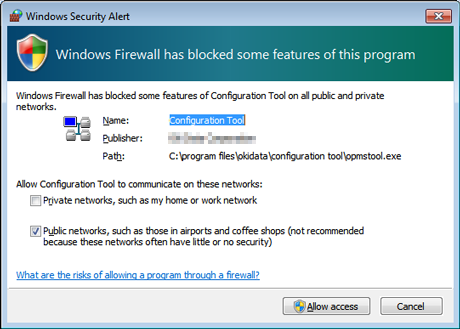
Note
If "Windows Security Alert" appears when searching, click "Allow access".
Setting the Printer's Network Settings
-
Click [Start], and then select [All Programs] > [Okidata] > [Configuration Tool] > [Configuration Tool].
-
Select [Network Setting] from the [Plug-in] menu.
-
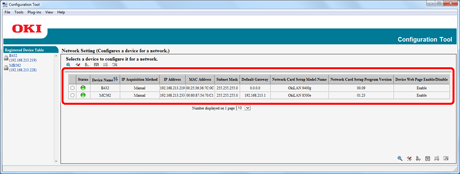
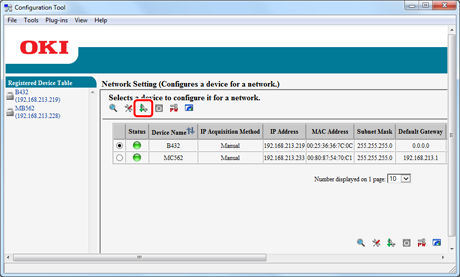
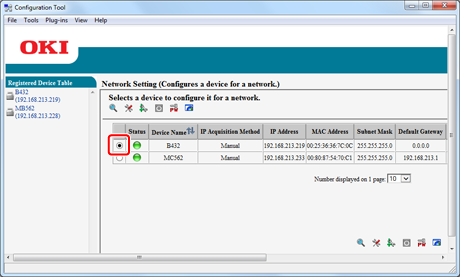
From the list of devices, select the printer to set up by referring to the IP addresses or MAC addresses.
Note
-
The MAC address is displayed in Network Information.
-
As initial value, the IP address acquisition method is set to "Auto". If there is a DHCP server on the network, the IP address obtained from the server is displayed.
-
-
Click
 (Device Setting).
-
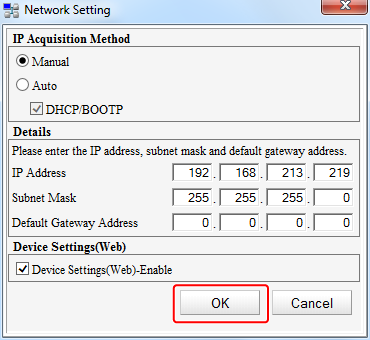
Enter the required information, and then click [OK].
-
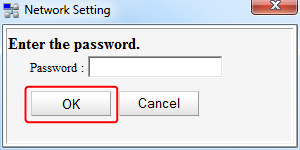
Enter the network password, and then click [OK].
Note
-
The default password is the last six digits of the MAC address referred to in step 3.
-
When you enter a password, it is displayed as "
 " on the screen.
 -
If the password includes an alphabet, enter upper case and lower case correctly.
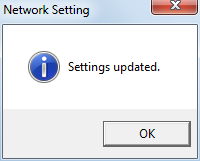
When the registration is complete, the following message is displayed.
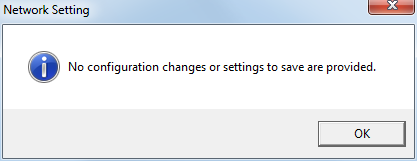
If the printer is already registered in Configuration Tool, the following message is displayed and only the information on Configuration Tool is updated.
-
-
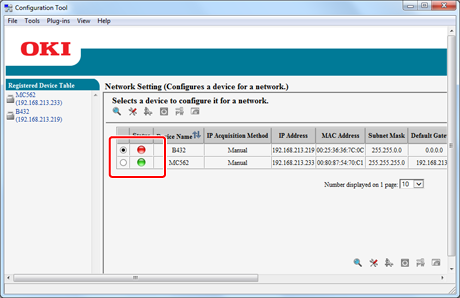
Click [OK] to restart the printer; when the restart process starts, the printer status turns red
 (usually green
  ).
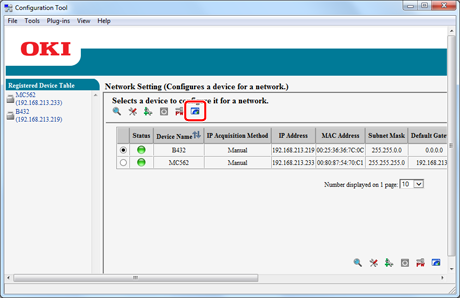
).When the printer is finished restarting, the printer status returns to green
.
Displaying the Web Page
Click  (Web page display) to display the Web page of the selected printer.
Changing the Network Password
You can change the network password.
-
Click [Start], and then select [All Programs] > [Okidata] > [Configuration Tool] > [Configuration Tool].
-
Select [Network Setting] from the [Plug-in] menu.
-
Select [Discover Devices].
The list of search results is displayed.
-
From the list, select the printer to set up by referring to the IP addresses or MAC addresses.
-
Click
 (Change password).
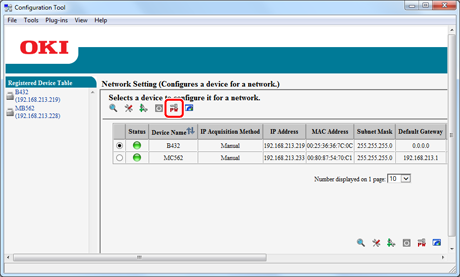
-
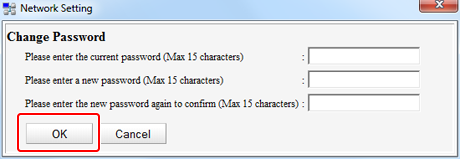
Enter the current password and the new password, and then click [OK].
Note
-
The default password is the last six digits of the MAC address referred to in step 4.
-
When you enter a password, it is displayed as "******" on the screen.
-
If the password includes an alphabet, enter upper case and lower case correctly.
-
-
When the setting is correctly set, the following screen is displayed.
Changing the Display Order of Printer Information
Clicking on an item field (status, device name (printer name), IP address acquisition method, IP address, MAC address, subnet mask, default gateway, NIC model name, NIC program version, and enable/disable setting for device settings (Web)) sorts information based on the values of the clicked item.
