
For the Network Connection
Installing the Printer Driver
Note
The PS printer driver is not available with B412.
Memo
The procedure below uses the installation of the PS driver as an example.
-
Check that the printer and a computer are connected and the printer is turned on.
[READY TO PRINT] is displayed on the operator panel when the startup process is complete.
-
Insert the "Software DVD-ROM" into a computer.
-
Double-click the [OKI] icon on the desktop.
-
Double-click [Drivers] > [PS] > [Installer for OSX].
-
Enter the computer's administrator name and password, and then click [OK].
Follow the on-screen instructions to complete the installation.
Registering a Printer with Bonjour
-
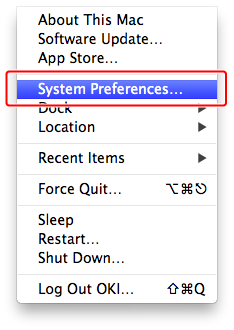
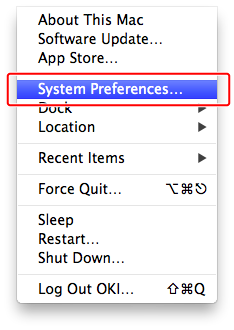
Select [System Preferences] from the Apple menu on your computer.
-
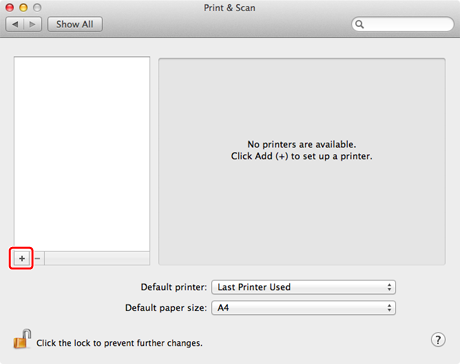
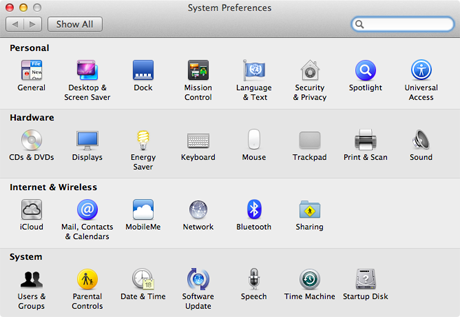
Click [Print & Scan].

-
Click [+].
-
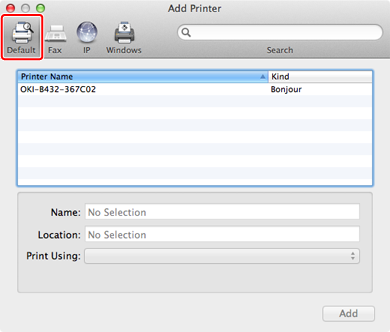
Click [Default].
-
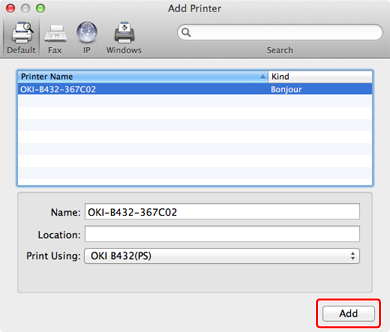
Select a printer with [Bonjour] as [Kind], and then check that [OKI B432(PS)] is displayed for [Print Using].
-
Click [Add].
Memo
The name of the printer is displayed in "OKI-B432 (the last six digits of the MAC address)" format.
The MAC address is displayed in the network setting information (Network Information) and [Printers] on the Web page.
Checking from the Operator Panel
About the Web Page of the Printer
-
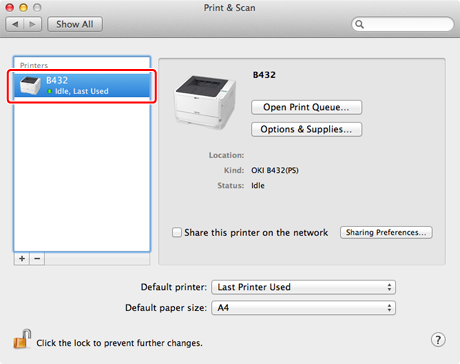
Check that the name of the added printer is displayed in the printer list.
-
Check that the name of the added printer is displayed correctly for [Kind], and then close [Print & Scan].
Note
With the PS printer driver, the printer name cannot be displayed correctly if the printer driver fails to load the PPD file correctly. In such a case, delete the relevant printer and re-register it.
-
Click [Open Print Queue] to perform a test print.
-
Select [Print Test Page] from the [Printer] menu.
-
Remove the "Software DVD-ROM" from the computer.
Complete the installation.
Registering a Printer with TCP/IP Protocol
The description below uses the following environment as an example.
-
OS
Mac OS X 10.7
-
Printer
B432dn
-
IP Address
192.168.0.3 (computer*), 192.168.0.2 (printer)
-
Subnet Mask
255.255.255.0
-
Gateway Address
192.168.0.1
* Check with your network administrator for the computer's IP address.
Note
-
If the IP address is set incorrectly, you may not be able to connect to the network. Check with your network administrator or the Internet service provider used for your Internet connection for the IP address and other information that can be set to the printer.
-
Servers on the network (DHCP, etc.) are different depending on the network environment you are using. Check with your network administrator, the Internet service provider used for your Internet connection, or the router manufacturer.
-
You must log in as the computer's administrator for setup.
Memo
For a small network such as a network connecting one computer and one printer, use the following settings (according to "RFC1918").
-
For the computer
IP address: Any address in the range of 192.168.0.1 to 254
Subnet mask: 255.255.255.0
Gateway Address: 0.0.0.0 (Not used)
DNS: Not used
-
Printer
IP address: Any address in the range of 192.168.0.1 to 254 (different from the computer's IP address)
Subnet mask: 255.255.255.0
Gateway Address: 192.168.0.1
Use DHCP: Do not select the check box
LAN: Small
-
Select [System Preferences] from the Apple menu on your computer.
-
Click [Print & Scan].
-
Click [+].

-
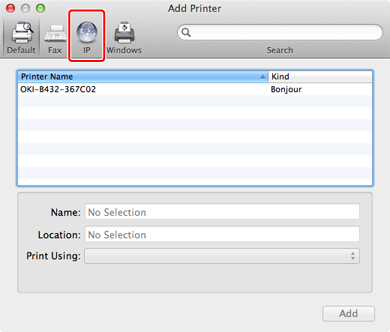
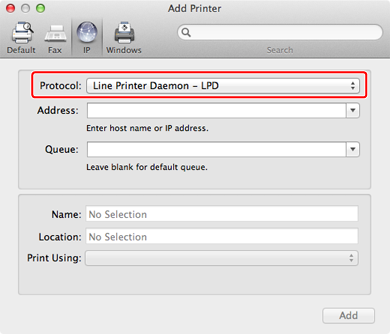
Click [IP].
-
Select [Line Printer Daemon - LPD] for [Protocol].
-
Enter the IP address of the printer, check that [OKI B432(PS)] is displayed in [Print Using], and then click [Add].

-
Check that the name of the added printer is displayed in the printer list, and then close [Print & Scan].

-
Click [Open Print Queue] to perform a test print.
-
Select [Print Test Page] from the [Printer] menu.
-
Remove the "Software DVD-ROM" from the computer.
Complete the installation.