
Setting by Using PEAP
The printer supports the IEEE802.1 authentication.
Set up the printer and the computer before following the procedure below.
Note
The setting may not work properly depending on your network environment.
About initial setup and IP address
The description below uses the following environment as an example.
-
Printer: B432dn
-
IP Address: 192.168.0.3 (the IP address that is used for setting up a computer)
192.168.0.2 (the IP address that is used for setting up the printer)
-
Subnet mask: 255.255.255.0
-
Open the Web page of the printer.
-
About the IP Address of the printer
-
How to log in to the Web page
-
-
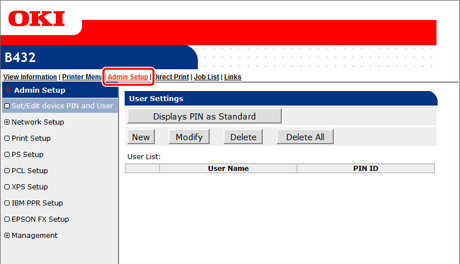
Select [Admin Setup].
-
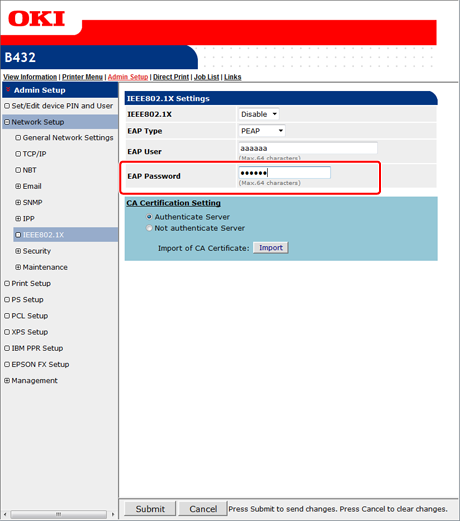
Select [Network Setup] > [IEEE802.1X].

-
Select [Enable] from [IEEE802.1X].
-
Select [PEAP] from [EPA Type].

-
Enter a user name in [EAP User].
-
Enter a password in [EAP Password].
-
Select [Authenticate Server], and then click [Import].
Memo
-
If [Not authenticate Server] is selected, you do not need to import a CS certificate.
-
If [Not authenticate Server] is selected, whether a connection is established to the correct authentication server is not checked.
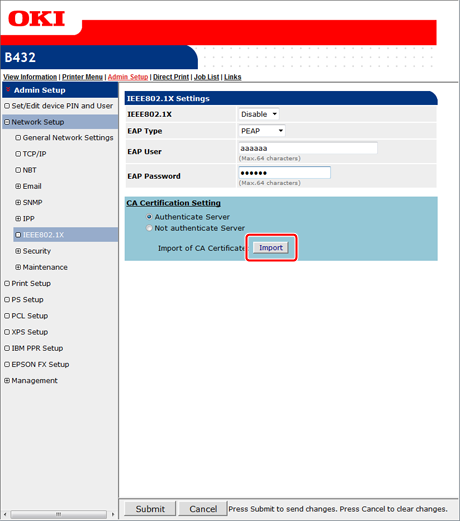
The [Import of CA Certificate] screen is displayed.
-
-
Enter the name of the CA certificate file, and then click [OK].
Specify the certificate that is issued by the certificate authority and the RADIUS server obtains. You can import a PEM, DER, or PKCS#7 file.
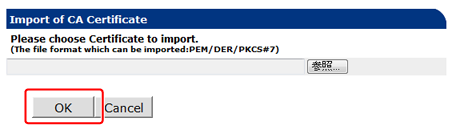
The CA certificate is imported to the printer.
-
Click [Submit].
The settings are saved to the printer, and the network function restarts.
-
When the printer goes online, turn the printer off.
-
Connect the LAN cable to the network interface connector on the printer.
-
Connect the LAN cable to the authentication port of an authentication switch.
-
Turn the printer on.
-
Check that [READY TO PRINT] is displayed on the operator panel.
-
Set the IP address of the printer and other settings according to your usage environment.